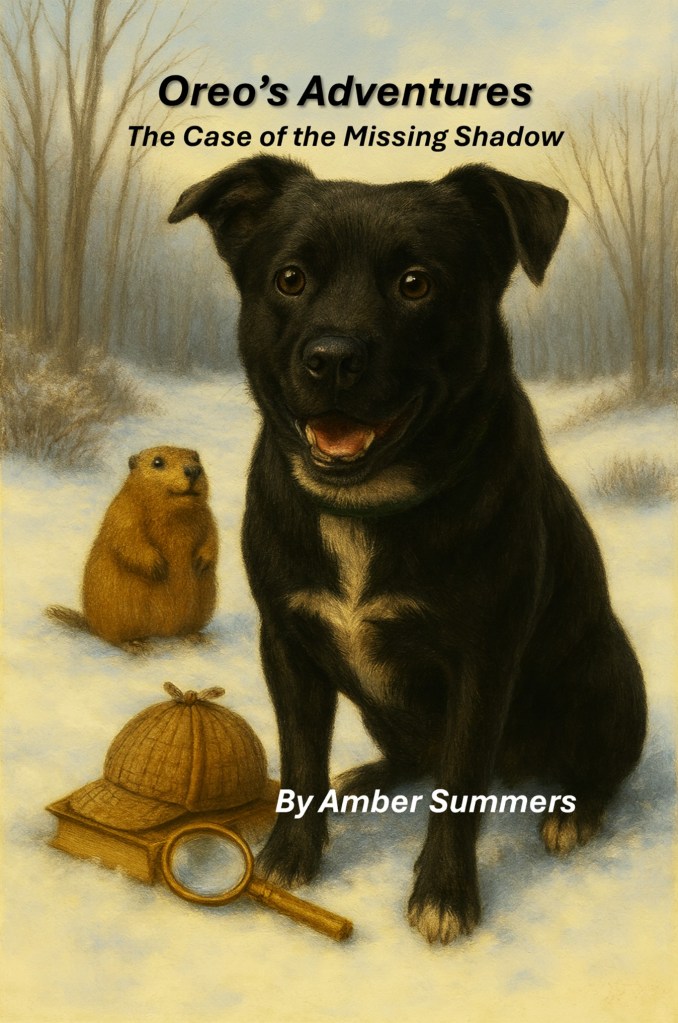
Oreo’s newest adventure has arrived, and families are already falling in love with her big personality and even bigger heart.
In Oreo’s Adventures: The Case of the Missing Shadow, our favorite pup wakes up to find her shadow… gone. What follows is a warm, funny, woodland mystery that helps kids explore curiosity, courage, and the joy of discovery.
If you’re looking for a bedtime favorite or a classroom read that sparks imagination, this one’s for you.
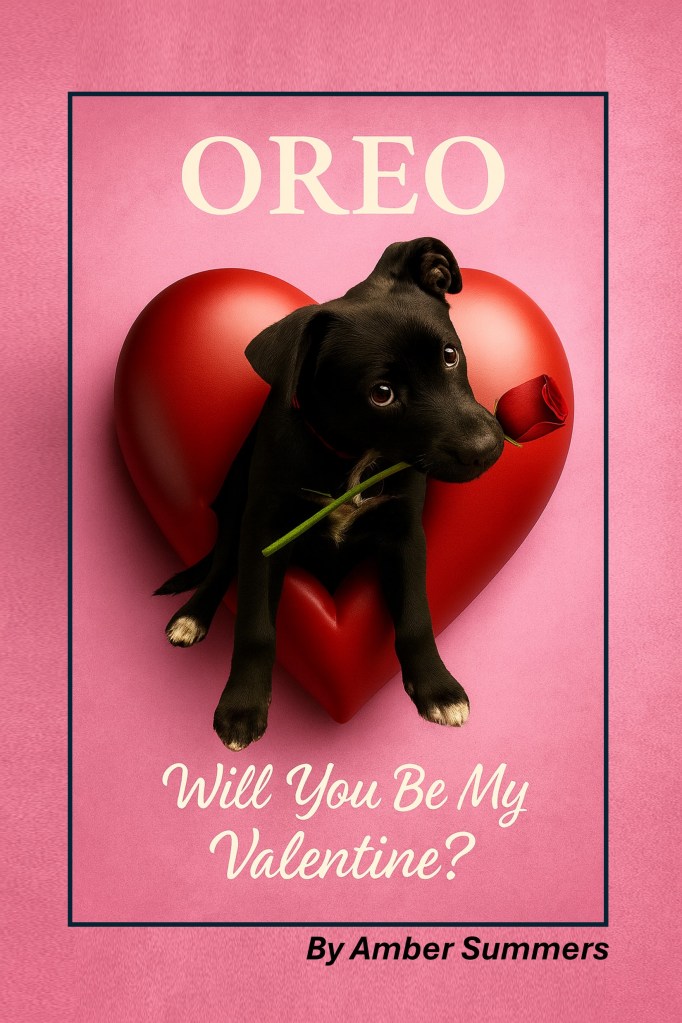
Meet Oreo: The Sweetest New Valentine’s Adventure!💖
Oreo is ready to steal hearts. A sweet mixed-breed pup is embarking on a snowy adventure to find the perfect Valentine… only to discover that love has been right beside her all along.
I am so thrilled to announce that my new book, “Oreo: Will You Be My Valentine?”, is officially available!
A Cozy Story for Little Readers
This rhyming picture book is designed for bedtime snuggles, classroom circle times, and every little reader who adores dogs. If your child loves gentle stories and heartwarming lessons about friendship, they are going to fall in love with Oreo.
Through her “zoomies,” cuddles, and big expressive eyes, Oreo teaches children about:
Warmth & Kindness: How small gestures make a big difference.
Listening: Understanding the world around us.
Belonging: Recognizing the love we already have at home.
Why You’ll Love “Oreo: Will You Be My Valentine?”
Valentine’s Day is coming up quickly, and there is no better way to celebrate than with a story full of puppy cuddles. This book is a perfect fit for:
Preschool & Kindergarteners: The gentle rhyme and engaging rhythm make it an ideal read-aloud.
Teachers: A sweet addition to Valentine’s Day lesson plans or circle time.
Dog Lovers: A tribute to the mixed-breed pups who bring so much joy to our lives.
A Labor of Love
Creating this book has been a true labor of love. Seeing Oreo’s snowy journey come to life in these illustrations has been pure magic, and I am so excited to finally share her heart with yours.
Help us spread the puppy love! 🐾
Please share this post with your friends, family, and followers to help Oreo find her way into homes and classrooms everywhere this season.
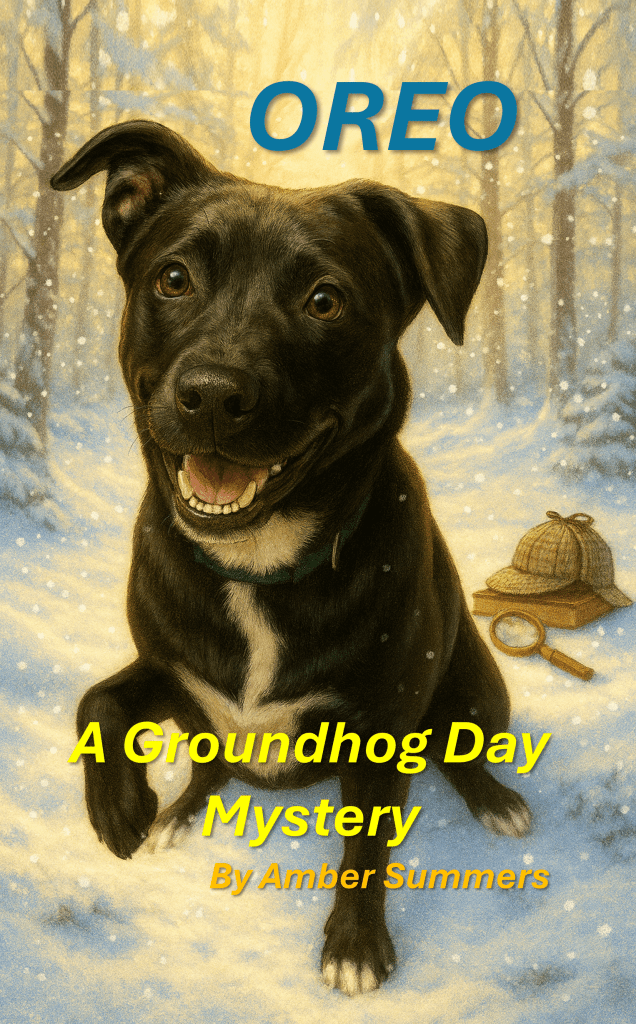
Can a brave little dog save Groundhog Day? When Groundhog Pete loses his shadow, he panics — but Oreo, the zoomie‑powered, super‑sniffing girl dog, is on the case!
Follow Oreo and Pete through snowy woods, frosty bridges, and winter magic as they solve a gentle mystery perfect for ages 0–10.
✨ Rhyming text ✨ Repeating refrain kids LOVE ✨ Friendship, courage, and kindness ✨ A cozy winter adventure
A must‑have picture book for winter reading time. Bring Oreo home today and watch your little one shout: “Zoom‑zoom, oink‑oink—Oreo’s on the case!”
✨ IT’S HERE! ✨ I’m excited to share my new book, Oreo Saves Christmas!
Christmas is my absolute favorite time of year, and I’m very excited to share this new story with you! It’s a magical tale about a lovable, mischievous pup with a heart as big as her wagging tail. When Santa’s sleigh hits a snag and the magic of Christmas is at risk, Oreo leaps into action. With courage, cleverness, and a dash of holiday humor, she embarks on a snowy adventure filled with twinkling lights, festive surprises, and unforgettable friends.
It is perfect for families, children, and dog lovers alike. Oreo Saves Christmas is a heartwarming tale that blends laughter, wonder, and the true spirit of the season. Whether read aloud by the fireplace or enjoyed as a bedtime story, this charming holiday adventure will become a treasured tradition year after year.
Why you’ll love this book:
A delightful mix of humor and heartfelt holiday magic
Beautifully written to spark imagination in children ages 0–10
A celebration of courage, kindness, and the joy of giving
The perfect stocking stuffer or Christmas Eve read-aloud
This Christmas, let Oreo remind us all that even the smallest heroes can make the biggest difference.
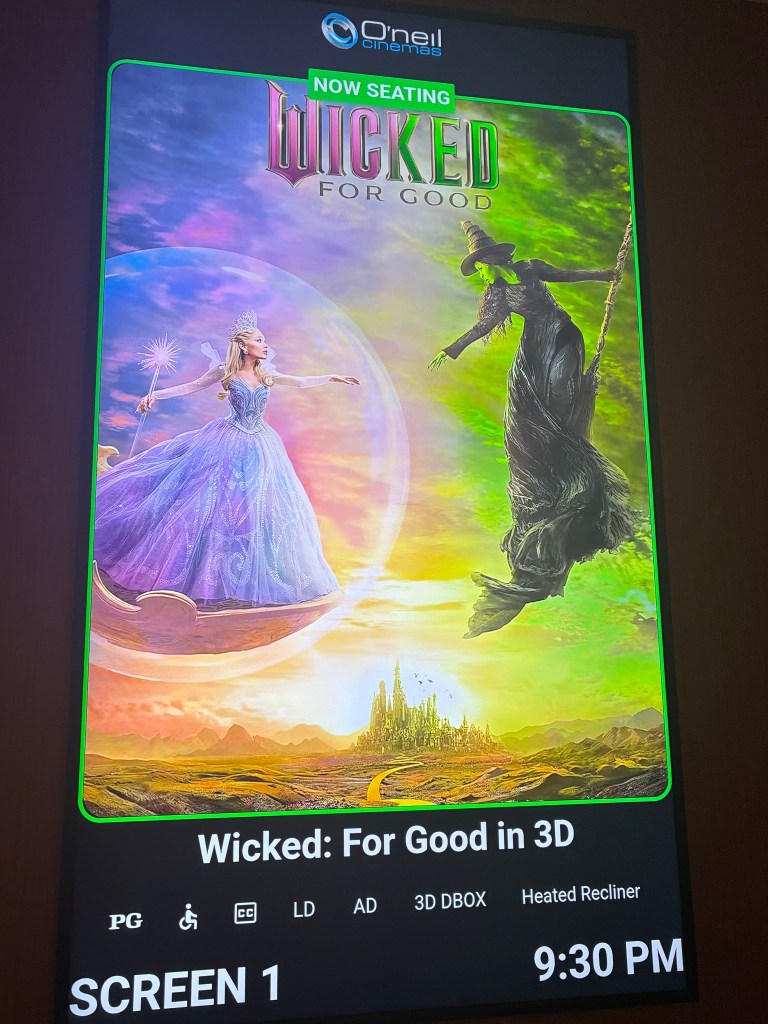
I have officially been changed for good after seeing Wicked: For Good! 💚💖 This movie is absolutely amazing—everything and more. Wicked: For Good is the highly anticipated second film in the two-part adaptation of the well known Broadway musical Wicked. It focuses on the consequences of Elphaba and Glinda’s decisions from the first film. It also happens during the events of The Wizard of Oz. It is soaring at the box office, earning $226 million worldwide in its opening weekend, which it officially released Friday November 21. I had no doubt especially with how well Wicked part 1 did last year.
This was my second time seeing the film, and this time I experienced it in 3D with D-Box motion seats, which made the experience even more immersive and impactful! The profound bond between Elphaba and Glinda is simply indescribable, and the powerful message about friendship conveyed during the final song “For Good” was truly beautiful. Ariana Grande and Cynthia Erivo’s voices blended perfectly, creating a genuinely moving and emotional song. I personally couldn’t have picked better people to play these characters.
A fascinating production note: there was no CGI used to create the Tin Man played by (Ethan Slater) and the Scarecrow played by (Jonathan Bailey). Ethan Slater also played Boq and Jonathan Bailey also played Fiyero. The Tin Man and Scarecrow were all makeup and prosthetics, which is incredible considering these are the very characters who eventually join Dorothy on the Yellow Brick Road. Thispractical effects choice ties back into the tragic origin of the Tin Man’s fate, which is directly caused by Elphaba’s sister, Nessarose, the Wicked Witch of the East. They also added two fantastic new songs: “No Place Like Home,” sung by Cynthia Erivo as Elphaba, and “Girl in the Bubble,” sung by Ariana Grande as Glinda. They both did a beautiful job performing these songs.
The entire cast did a phenomenal job portraying their characters, but especially Jonathan Bailey, Cynthia Erivo, and Ariana Grande. Their performances as Elphaba, Glinda, and Fiyero brought substantial emotional depth to the story.
Cynthia Erivo’s portrayal of Elphaba was phenomenal. She perfectly captured Elphaba’s journey to becoming the Wicked Witch of the West. She excelled during “No Good Deed,” delivering an intense and powerful performance that completely embodied Elphaba’s rage and determination.
Ariana Grande’s portrayal of Glinda was brilliant. She showcased incredible range, balancing the character’s initial charm and comedic timing before truly soaring with Glinda’s evolution, embodying the character’s duality in a remarkable way.
Jonathan Bailey brings a wonderful warmth and charm to Fiyero. He slipped easily into the role and has that remarkable ability to make whoever he is in front of feel seen and safe, which comes across beautifully in his chemistry with both Erivo and Grande.
This film is a love letter to friendship, love, and celebrating our differences. Truly special. I have truly been changed For Good! 💚💖 I highly recommend going to see Wicked: For Good! A huge thank you to director Jon M. Chu for this unforgettable cinematic experience! 🎬✨